
Sketch, photo or PDF: what is actually needed for a DXF
Updated: Jul 30, 20265 min read
Which template works for a cut-ready DXF? What makes a good hand sketch, when a photo is enough, and the details that must never be missing.
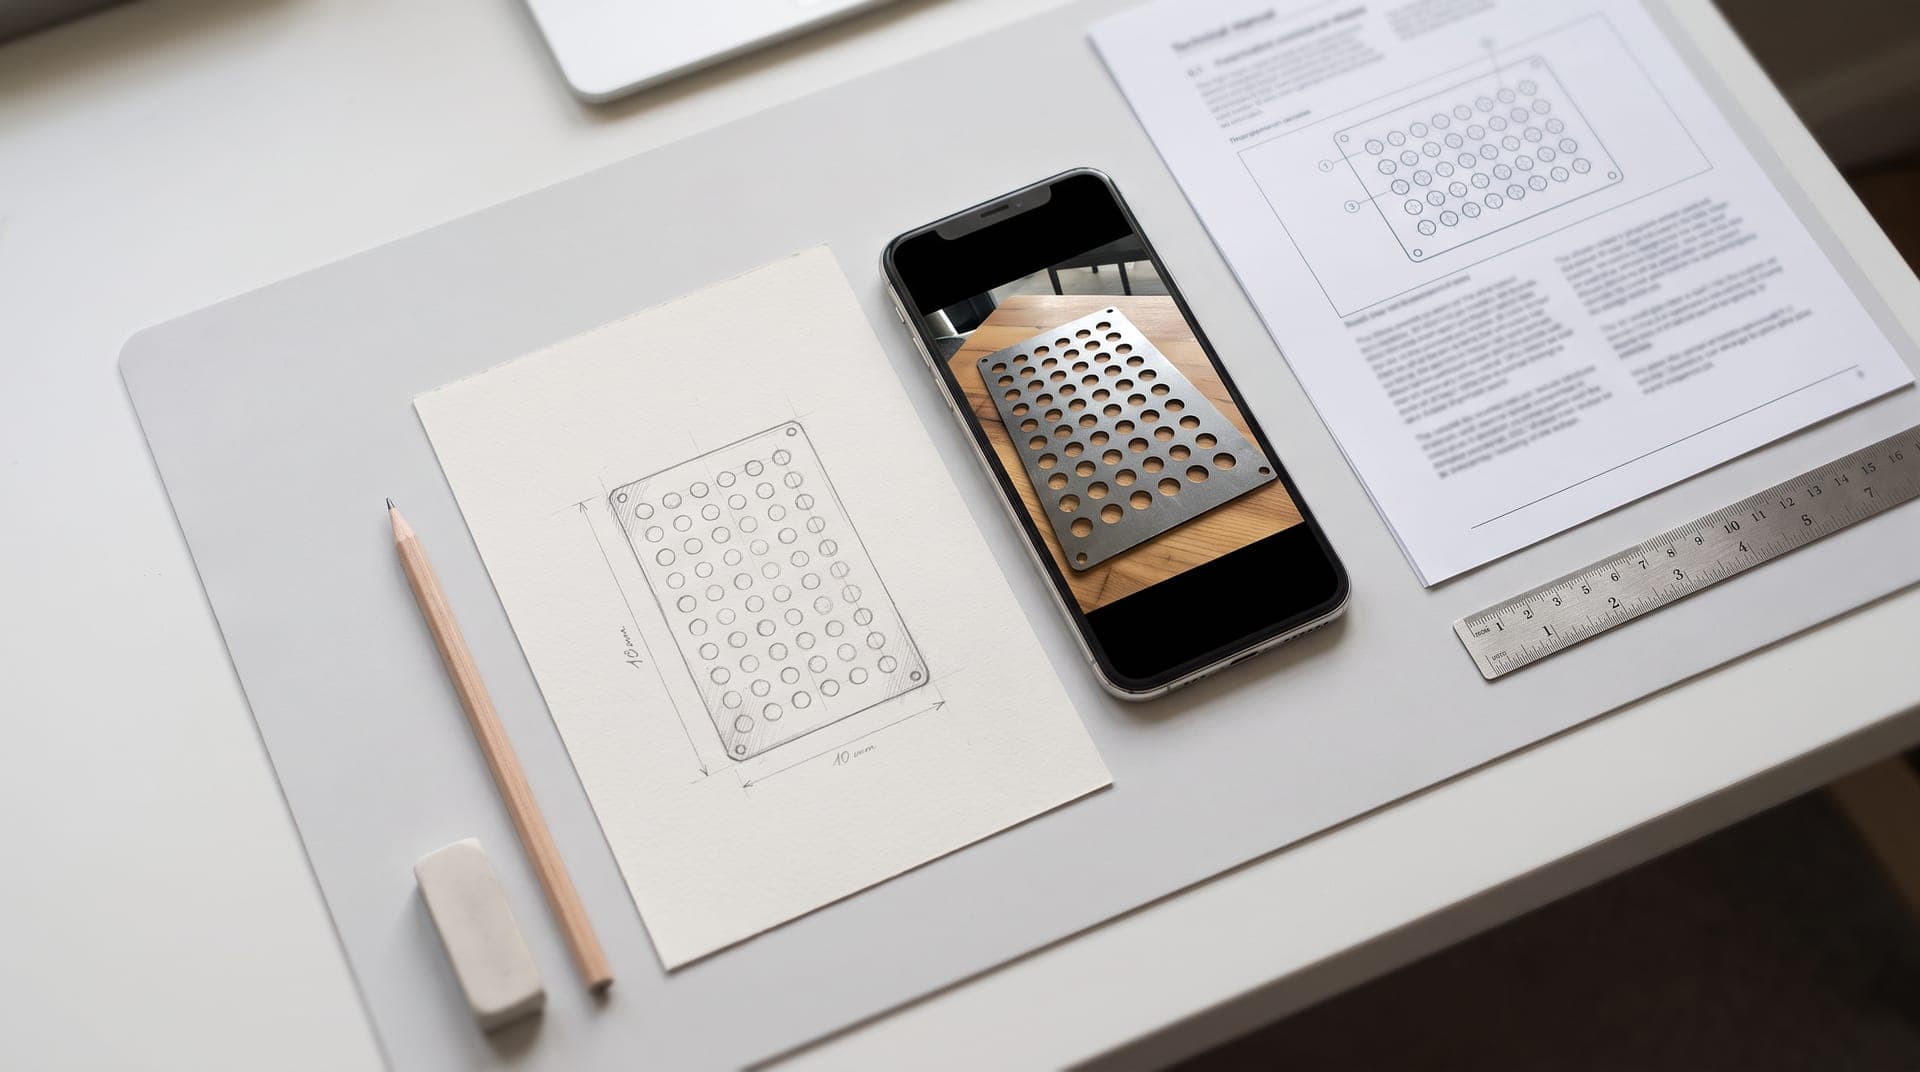
The idea that a manufactured part inevitably requires a professional technical drawing keeps a lot of people from their project far longer than necessary. In practice, considerably less will do — as long as the little there is is unambiguous. This article sorts through the usual templates and names the details that are indispensable in every case.
The dimensioned hand sketch
It is underrated and in most cases the best template of all. A hand sketch need be neither pretty nor to scale. It needs to be complete. A wonky circle with »Ø 8.5« written next to it is infinitely more valuable than a perfectly drawn circle without a dimension, because anyone can draw the circle — only you know the dimension.
What a usable sketch should contain:
- The overall dimensions of the part, length and width.
- Every hole with its diameter and position. Position is best dimensioned from two fixed edges rather than from hole to hole.
- Radii on corners and cut-outs. If nothing is stated, it becomes a sharp corner.
- The material thickness.
- A note on which way up the part goes, if it is not symmetrical.
Dimension from a common reference edge where you can, not in a chain. In a chain, inaccuracies add up, and if one dimension is missing the whole chain collapses.
A photo of an existing part
Where a sample exists — an old cracked bracket, a template, a fitting — it makes an excellent basis. Only: a photo supplies a shape, not a size. Without a reference, nobody can tell from the image whether the part measures ten centimetres or a hundred.
Three things make a photo usable. First: shot square from above, not at an angle. Even a slight tilt distorts the shape enough that right angles stop being right angles. Second: a scale in the frame, ideally a ruler or folding rule right next to the part and in the same plane. A coin placed alongside beats nothing, but a ruler is better. Third: at least one dimension additionally stated in plain words so the result can be checked.
Even lighting without hard shadows helps considerably, because the edge of a shadow can otherwise be mistaken for the edge of the part. Placing the part on a contrasting, plain background costs nothing and noticeably improves the result.
The PDF
PDF is where opinions divide, because a PDF is not a PDF. There are two entirely different kinds, and you cannot tell them apart from the outside.
A vector PDF is produced by exporting directly from a CAD or drawing program. It contains genuine lines and curves. Zoom deep into it and the edges stay razor sharp. Geometry can be taken cleanly from such a PDF, often true to size.
A raster PDF, by contrast, is merely an image inside a PDF wrapper — typically a scan or a photo someone saved as a PDF. Zoom in and it turns blurred and pixelated. For manufacturing it is no better than a photo and has to be traced just the same.
The self-test takes ten seconds: open the PDF and zoom to 800 per cent. If the lines stay sharp, it is a vector PDF. If it turns blocky, it is a scan.
The technical drawing
Where a dimensioned drawing already exists — from a repair manual, a spare parts catalogue or a previous supplier — you have the most comfortable case of all. All that matters is that the dimensioning is legible and the scale is correct, or is expressly marked as »not to scale«.
What is needed in every case
Regardless of the template, some details do not follow from any drawing and still decide the outcome:
- Material and thickness. Steel, stainless steel, aluminium and plastics behave completely differently under cutting.
- What the part is for. Knowing that a hole will later take a bolt means laying it out differently from a plain clearance hole.
- Which dimensions are critical and which are not. No part needs the same accuracy everywhere — this information saves time and money.
- Quantity. With several parts, a different arrangement on the sheet pays off.
- Whether the part has to fit a mating part, and if so, which one.
What does not work
Honesty saves both sides a round: no dimensionally accurate part can be derived from a blurred phone photo without any dimension, from a sketch without dimensioning, or from a description in words alone. Something can be traced that looks roughly like it — but »roughly« is not a category in cutting. Where dimensions are missing, asking is quicker than guessing.
A template that contradicts itself is no more helpful: if the individual dimensions do not add up to the overall dimension, it has to be settled which one applies. Such contradictions almost always surface during tracing — and are easy to resolve then, while nothing has been cut yet.
Several templates beat one
There is no reason to settle on a single template. If you have made a sketch and also photographed the original part, send both. The sketch supplies the dimensions, the photo shows details nobody thinks of while sketching: a chamfered edge, a slight notch, a marking that belongs to the assembly direction.
A photo of the installation situation is especially valuable. Seeing where the part later sits and what it adjoins answers questions that never emerge from the geometry alone — such as whether a corner has to be rounded because a weld seam runs there, or which side a cut-out must be accessible from.
What happens next
A drawing is built from the templates, checked and output as a DXF. Before cutting, a short look from your side pays off: are the dimensions that matter to you correct? Do the holes sit where you expected? That check takes a few minutes and is the last chance to spot a transcription error before material is consumed.
Frequently asked questions
Is a phone photo enough as a template?
If it is taken square from above, has a ruler beside the part and at least one dimension is stated in plain words: yes. Without a scale and a dimension, no.
Does my sketch have to be to scale?
No. It has to be fully dimensioned. A sketch that is not to scale but fully dimensioned is considerably better than a tidy drawing with no dimensions.
Can I just send in the broken original part?
That is often the most accurate basis there is. Check in advance whether the shop offers this, and point out worn or bent areas that should not be carried over.
What if I do not know the material thickness?
Measure it with a caliper or send the sample along. Thickness affects kerf, radii and price, and it cannot be guessed.
More articles
Got a template and need a DXF?
Upload a sketch, photo or PDF. You receive a fixed-price quote up front, no obligation, no account fees.
Start a request